
Sweep The Moon Progression Guide: Unlock Zones, Reach 100% and Exit
Last updated:
Turn your first loads of moon dust into a stronger cleaning setup, then work outward through the zones. Finishing the moon means clearing the remaining patches and entering the open Hatch on foot.
Build from Hand Cleaning to Parallel Cleaning
Start with a cleaning setup that earns enough Cash to fund your next improvement, then add equipment that works alongside you.
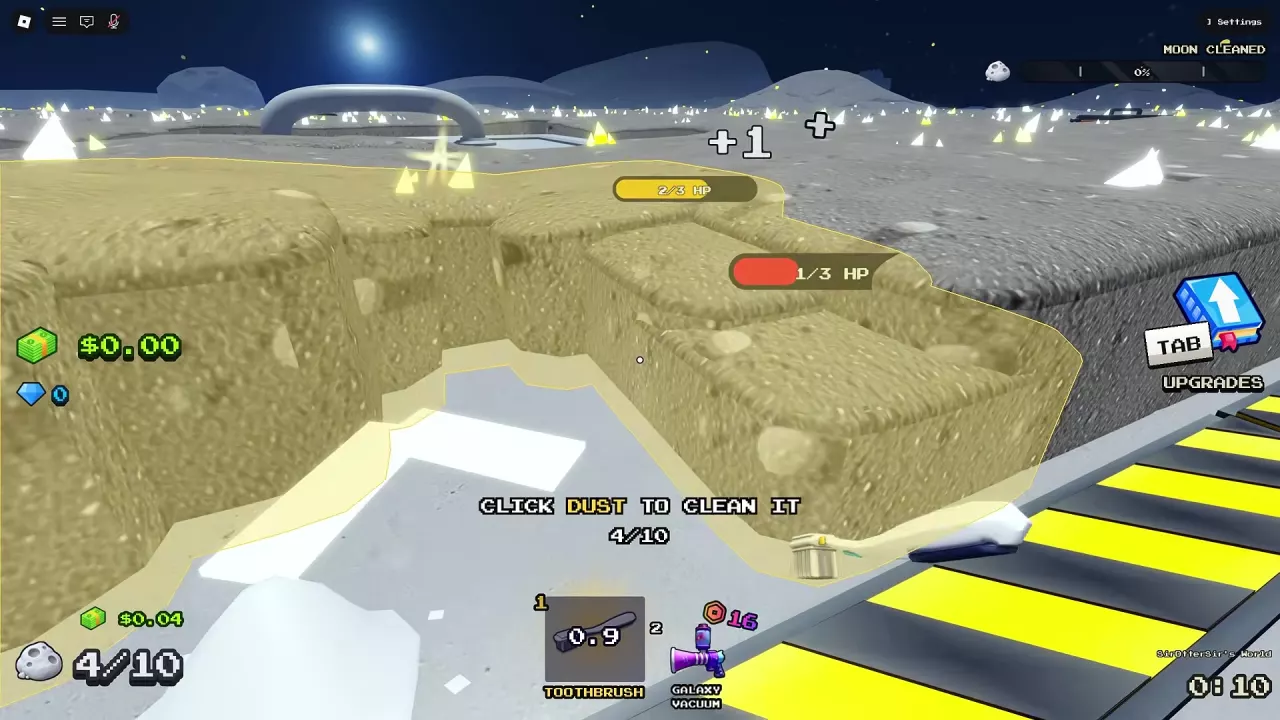
- Collect and sell your first loads. Equip the Toothbrush, clean moon dust, and empty your canister at the base's green SELL area.
- Reinvest in the work that slows you down. Improve your tool when clearing dust takes too long, or increase capacity when frequent unloading interrupts you. Movement upgrades help with travel between cleaning and selling.
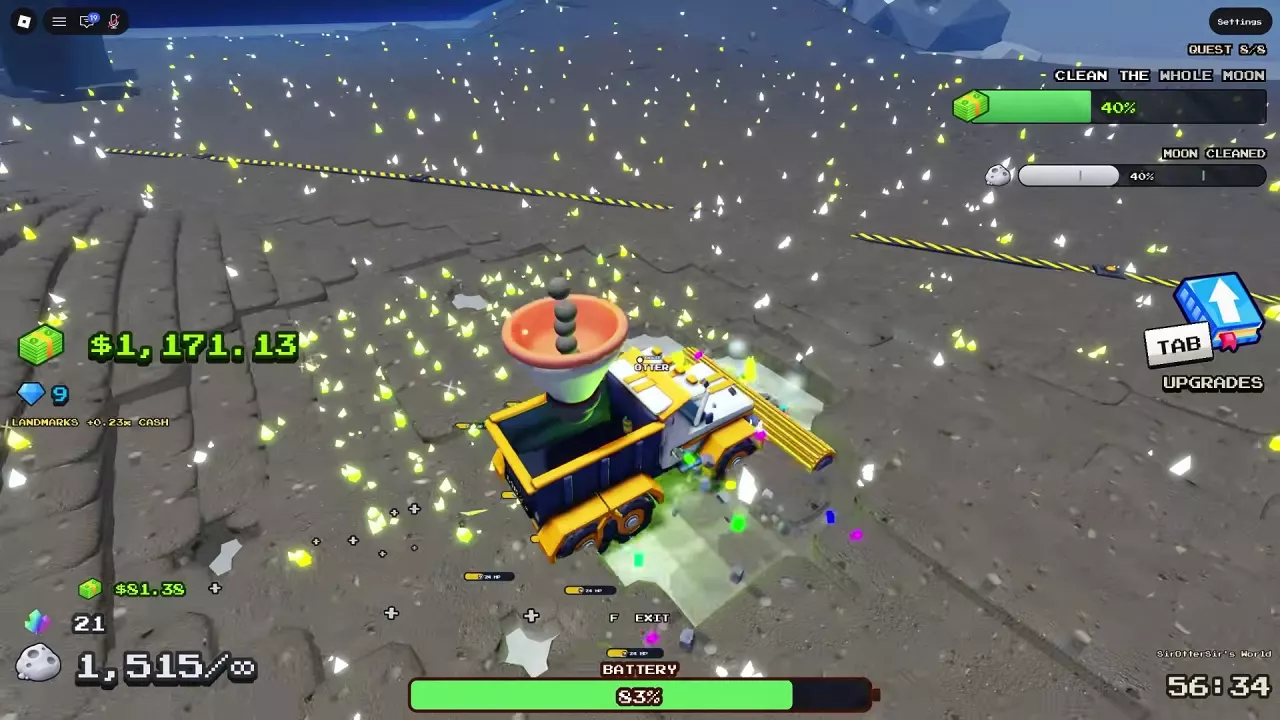
- Follow the purchase objectives into vehicle cleaning. The early route includes the 10 Cash Junk Hauler, followed by a Buy a Conveyor objective with a 60 Cash target. A vehicle lets you collect dust by driving over it; conveyors give you additional unloading points.
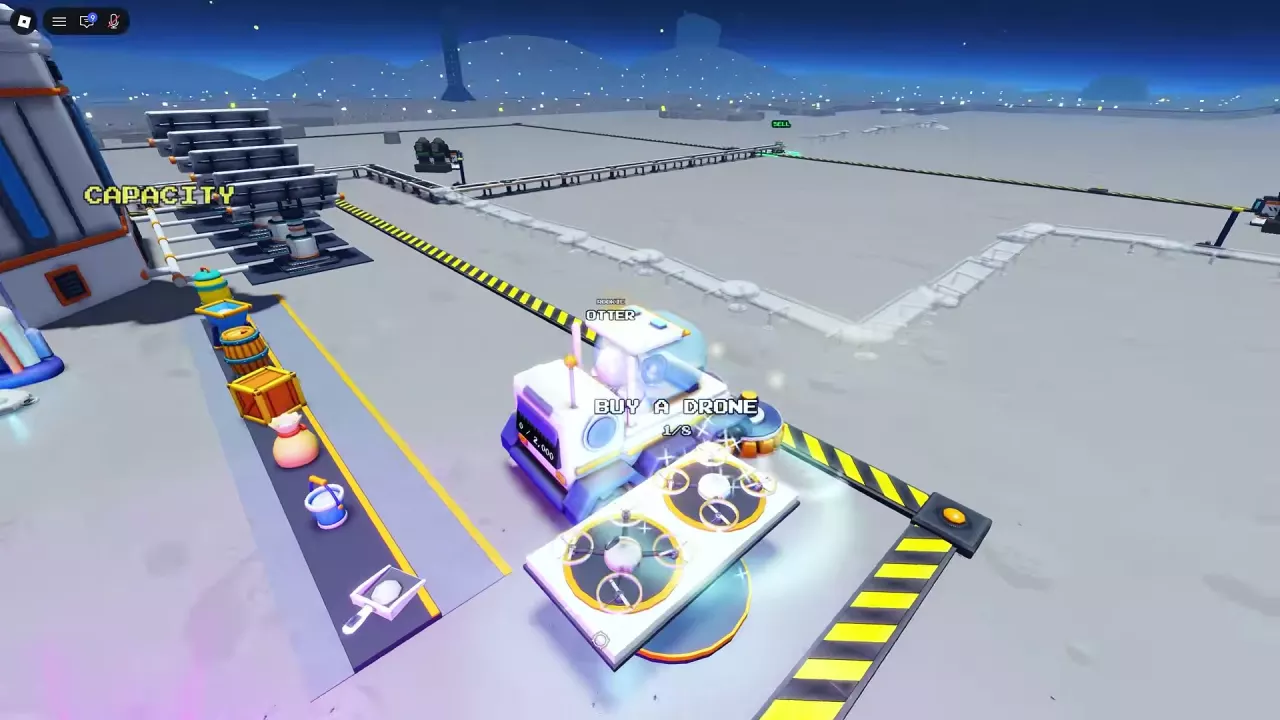
- Add automatic cleaners while you keep working. The first Crew Robot costs 50 Cash at the Crew Robot Bay. Add more team robots and drones as your budget grows, then use your own tool or vehicle to clean alongside them.
Choose between improving your own cleaner and adding automation according to your current problem. A stronger active tool helps when each patch takes too long; an automatic cleaner adds work elsewhere while you continue sweeping. For the initial controls and purchase prompts, use the beginner guide. See automation setup for facility choices and vehicle prices and unlocks when choosing your next vehicle.
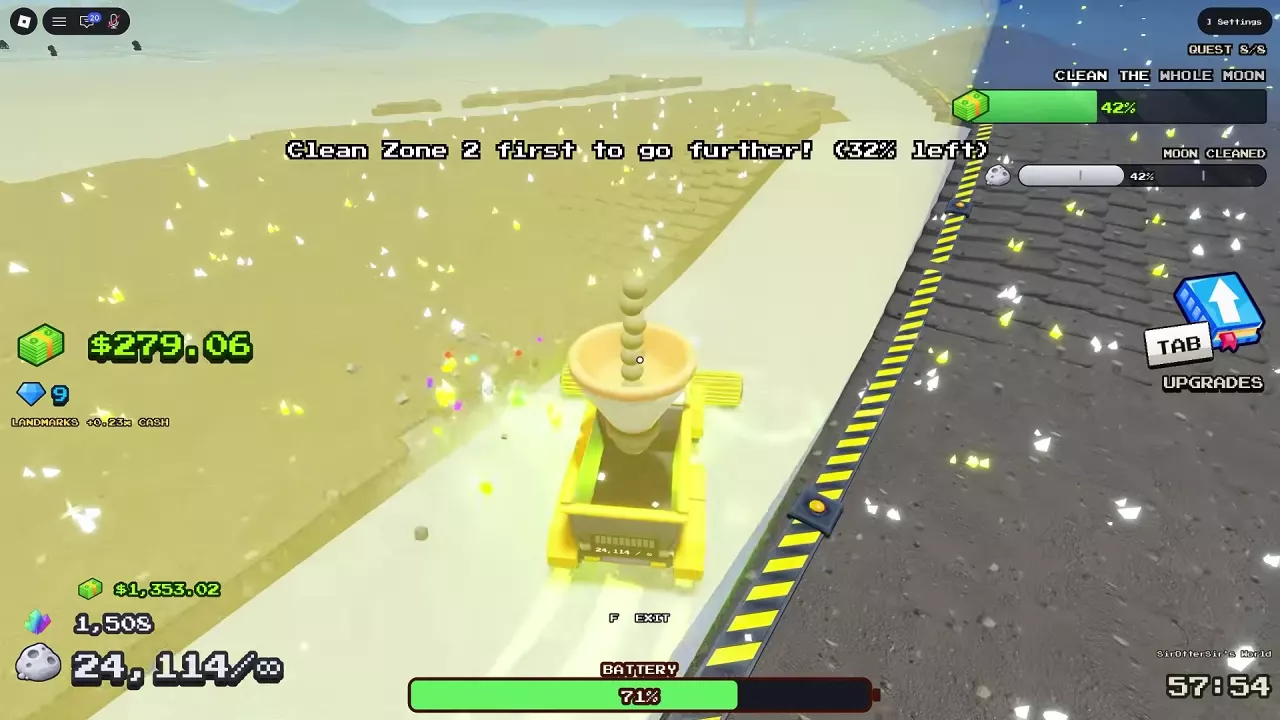
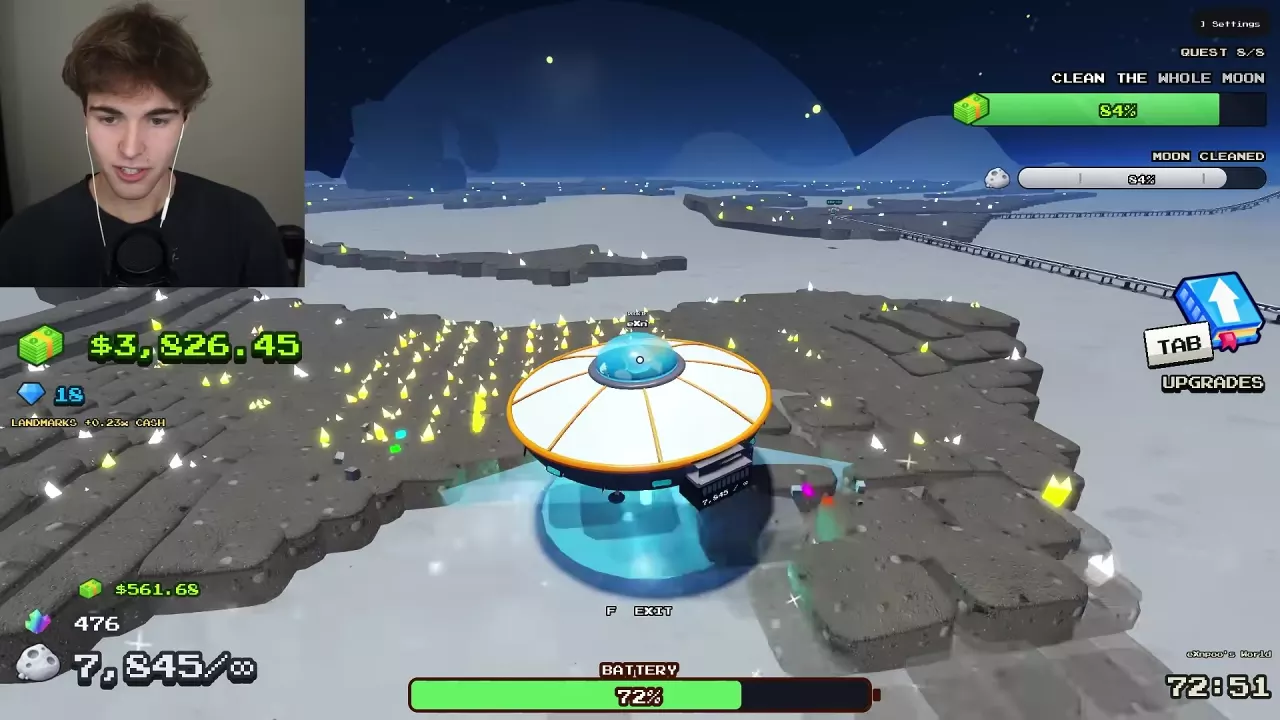
Quest 8/8, “Clean the Whole Moon,” is the final objective—not a sign that the moon is almost finished. Use Moon Cleaned to track how much cleaning remains.
Clear the Zone Named by the Barrier
A zone barrier opens when you finish the area it tells you to clean. Buying stronger equipment helps you remove dust faster, but you still need to clear the blocking zone.
- Read the barrier message. Identify the zone it names.
- Return to that zone's remaining dust. Help your automatic cleaners finish the patches left between their routes.
- Cross into the next area once the boundary clears or the unlock transition finishes.
The two percentage displays answer different questions:
| Display | Meaning | What to do |
|---|---|---|
| Barrier message: “32% left” in Zone 2 | That zone still has 32% of its dust remaining | Keep cleaning Zone 2 |
| Moon Cleaned | The portion of the entire moon already cleaned | Use it to track overall completion |
A small regional remainder still matters: even 5% left in Zone 1 can keep its barrier closed. These remaining percentages count down as you clean; they are not unlock thresholds.
Clearing Zone 1 opens Zone 2. Finishing the preceding area's residual dust opens Zone 3. Continue outward to the fourth and final cleaning area.
Reduce Delays While Moving Outward
Spend your next Cash on the delay you encounter most often. Keep cleaning while robots and drones work, and direct your own effort toward the dust holding the next barrier closed.
| What slows you down | Useful adjustment | Why it helps |
|---|---|---|
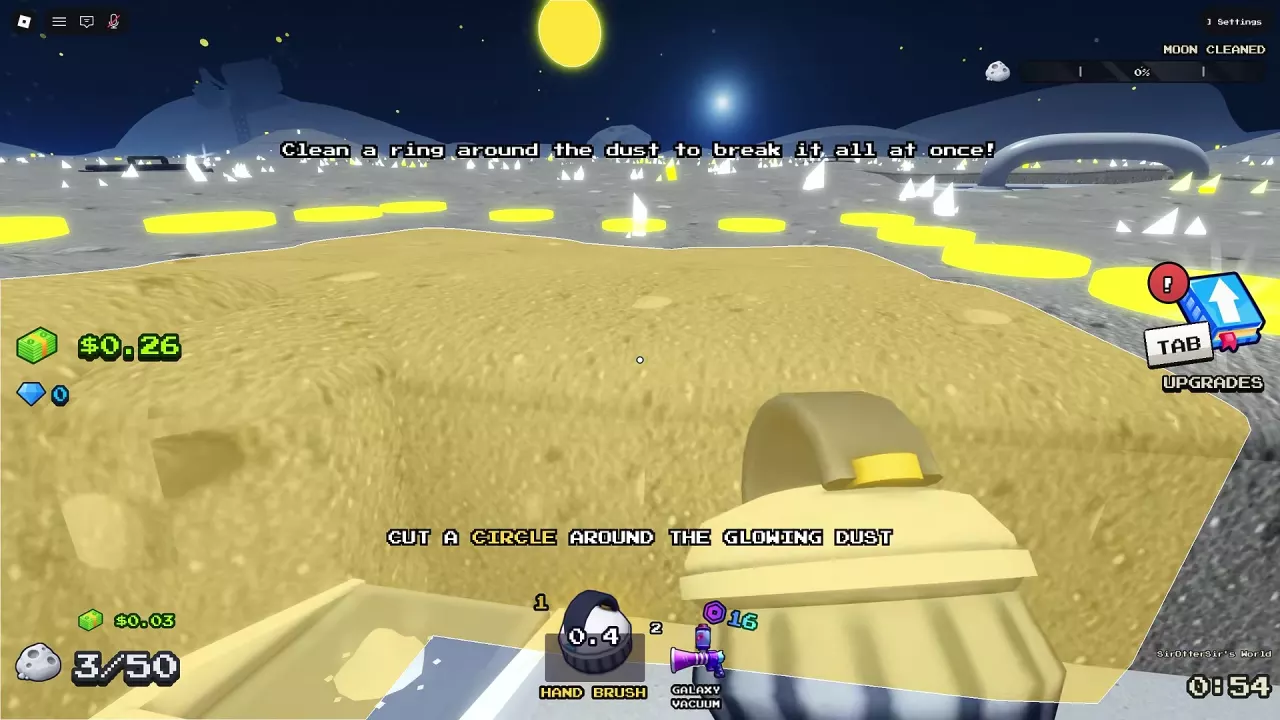
| Clearing every patch individually | Clear a closed path around a dust island | Completing the enclosure removes the dust inside |
| Long trips to unload | Extend a conveyor toward the active cleaning area | Its end SELL pad moves closer to your work |
| Dust waiting to become Cash | Upgrade Lunar Converter processing | It handles the accumulated dust faster |
| Too many passes over broad areas | Improve your current vehicle's cleaning width | Each pass covers more ground |
| Repeated passes through layered dust | Improve Power | Each cleaning action handles more layers |
| Slow vehicle travel | Improve driving speed | Travel takes less time |
| Frequent charging interruptions | Improve battery duration | You can work longer between charges |
Open UPGRADES → VEHICLES to improve the vehicle you are actually driving. Keep its storage and battery in mind when planning your next trip: unload a finite bin at SELL and recharge when needed. Cleaning UFO can handle the final area, but a finite bin still needs unloading.
For the enclosure technique, see cleaning and island breaking. Focus on completing useful loops and picking up leftovers between automated routes rather than repeatedly crossing already cleared ground.
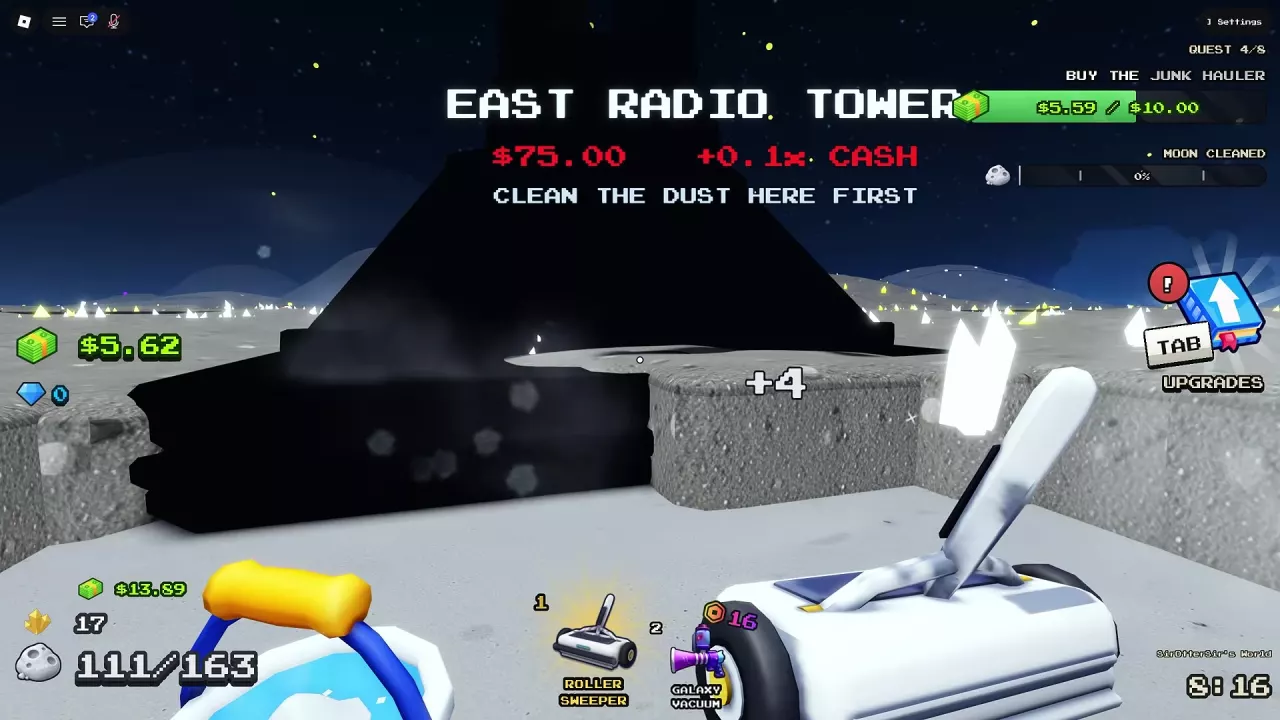
Activate accessible radio towers while you still have plenty of selling ahead. East Radio Tower and South-West Radio Tower each cost 75 Cash and each add +0.1x Cash to crew sales. Clear nearby dust where required before activating the tower. Their value comes from improving later sales, so they are more useful earlier in the remaining cleanup than at the very end. See radio towers and landmark bonuses for the other landmark choices.
If you already own passes
- Sell As You Sweep: Dust pays when it enters your canister, and a vehicle you drive pays as it sweeps. This removes cash-in trips, although shopping still takes you back to base. Infinite Canister by itself still requires emptying at the intake to receive Cash.
- Fast Vehicles: Adds 30% driving speed to any vehicle you drive.
- Fast Legs: Adds 50% walking speed while your broom is not sweeping. It does not increase broom sweeping speed.
- Head Start: Supplies one ready-to-drive shared sweeper per moon in the first empty vehicle bay. If every bay is occupied, it supplies no vehicle that moon.
Use these benefits in your route if you have them; the cleaning and zone objectives remain the same.

Clear the Final Patches and Reach 100%
Finish any regional remainder that blocks your route before concentrating on the fourth area. Once you can reach the final area, work through its remaining dust and use Moon Cleaned as your overall progress indicator.
- Drive through broad remaining patches. Use your vehicle's coverage for the larger stretches, unloading and charging as needed.
- Switch to a handheld tool for isolated leftovers when useful. Small patches can be easier to approach on foot than by repeatedly turning a vehicle around.
- At 99%, continue clearing visible dust. Check the patches left between cleaned paths and automated cleaners' routes, then keep working until the completion scene triggers.
At 100% Moon Cleaned, you earn the Clean Sweep badge and the Hatch opens. Your next task is to leave through it.
Leave Through the Hatch on Foot
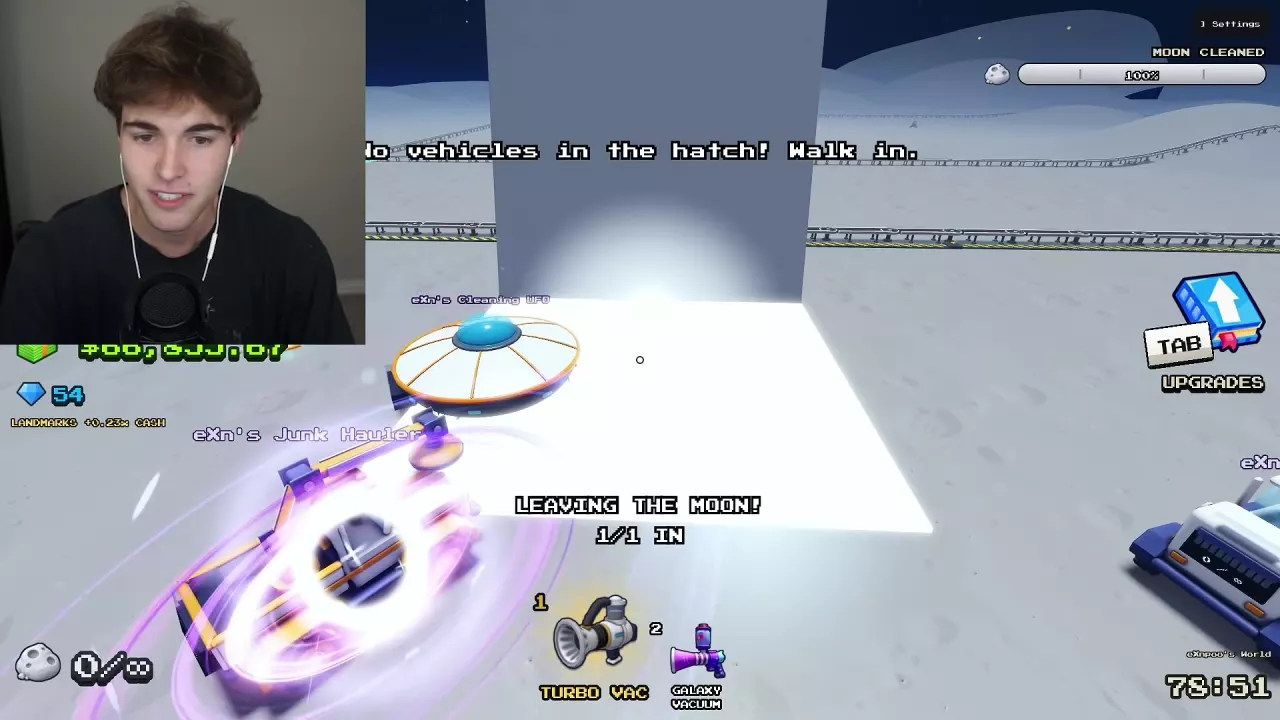
After the moon reaches 100%, the objective changes to “Jump in the Hatch.”
- Follow the HATCH direction marker to the open entrance.
- Press F to exit your vehicle. Vehicles cannot enter the Hatch; the entrance tells you, “No vehicles in the hatch! Walk in.”
- Walk into the open Hatch. Wait for the leaving sequence.
- View the MOON CLEAN! results after leaving the moon.
Read the Completion Results
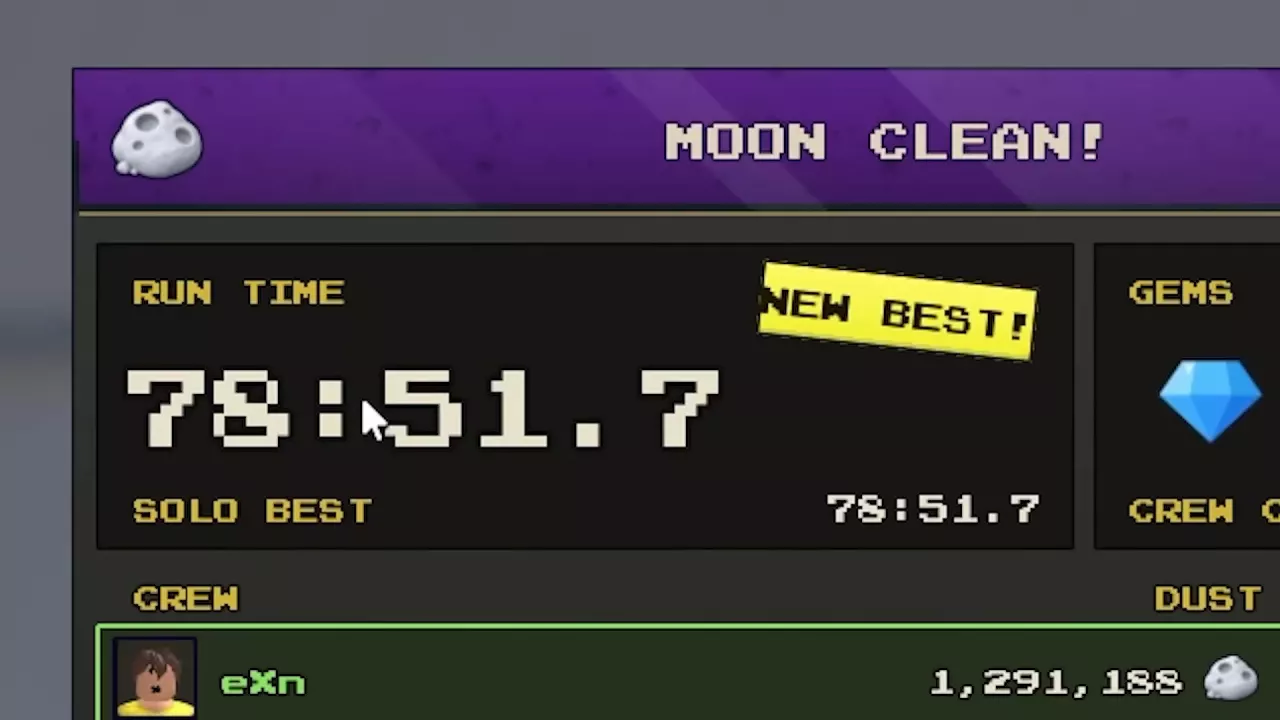
The MOON CLEAN! screen summarizes your finished run.
| Field | What it tells you |
|---|---|
| RUN TIME | How long the completed run took |
| SOLO BEST | Your best solo completion time for comparison |
| GEMS | The Gems information shown in the completion results |
| CREW | The players listed for the run |
| DUST | The dust total listed beside each crew member |
Use RUN TIME and SOLO BEST to compare your own completions. Read DUST as the displayed total; it is not labeled in kilograms.
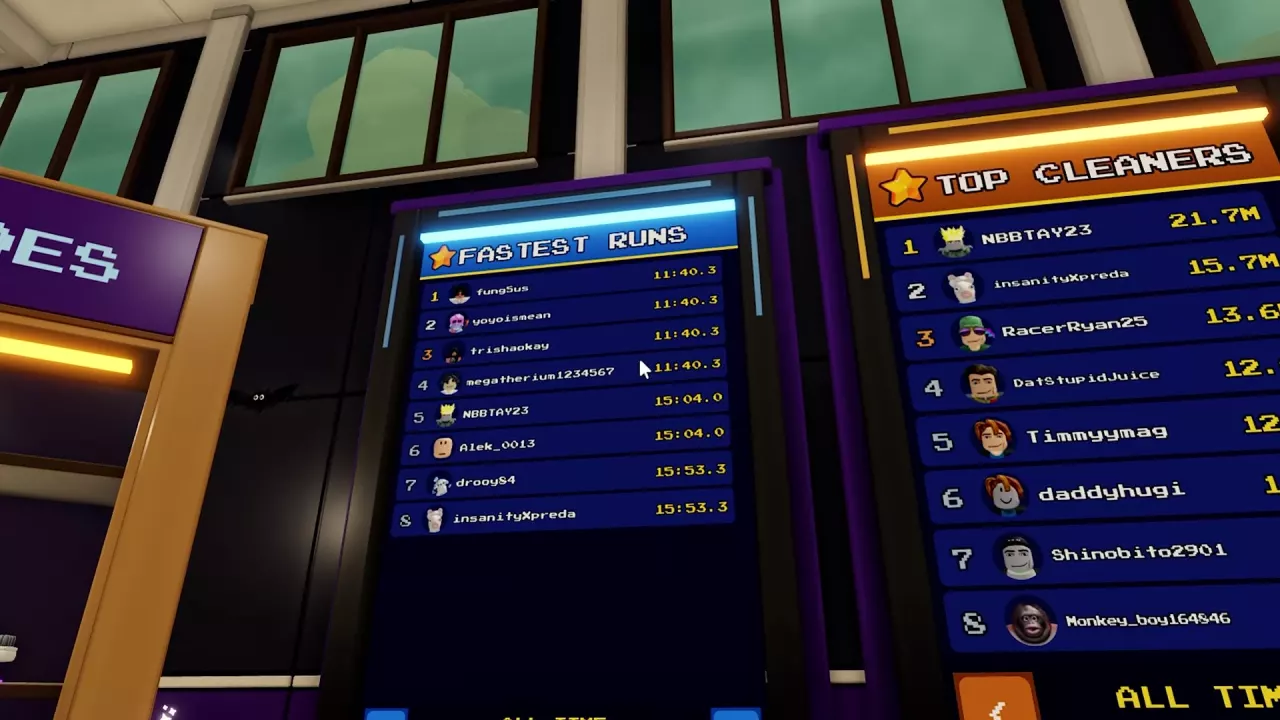
The post-Hatch display also includes Fastest Runs, ranked by completion time, and Top Cleaners, ranked by cleaning quantity. Use the leaderboard guide to find and browse them.
For another completion goal, check the badge requirements. To understand which purchased benefits apply across moons, see permanent game passes and run-limited offers.
Related guides

Sweep The Moon Badges and Unlock Requirements
Find all five Sweep The Moon badge requirements, from your first sale to 1,000 kg of dust and a completely clean moon.
Sweep The Moon Leaderboards: Fastest Runs and Top Cleaners
Find the Sweep The Moon leaderboards after completing the moon, compare Fastest Runs and Top Cleaners, and browse the rankings.
Sweep The Moon Game Passes: Prices, Benefits and What to Buy
Compare all eight Sweep The Moon game passes, their prices and benefits. Avoid overlapping purchases and see when the 649 Robux Everything pass is worth it.
Sweep The Moon Beginner Guide: Controls and First Purchases
Learn how to start Sweep The Moon, sell dust, use the basic controls, buy your first equipment and follow the tutorial quests.
Sweep The Moon Cleaning Guide: How to Break Islands and Clean Faster
Learn how to break islands in Sweep The Moon, understand cleaning stats, and reduce interruptions from full storage and low batteries.
Sweep The Moon Automation Setup: Robots, Drones and Dust Flow
Build a Sweep The Moon automation setup with crew robots, drones, conveyor SELL pads, converter upgrades and passive income facilities.
Sweep The Moon Vehicles: Prices, Unlocks and Best Uses
Compare all five Sweep The Moon vehicles by price, unlock requirements, storage and cleaning role. Choose for your budget, terrain and unloading needs.
Sweep The Moon Radio Towers and Big Digger Cash Bonuses
Learn how to activate Sweep The Moon radio towers, compare their prices and crew Cash bonuses, and decide when to buy Big Digger.